Website not showing up on Google? Here’s what might be wrong

Imagine this – you’ve just published your blog post that you’ve been working on for the past couple of days. You’ve revised and re-read the thing a number of times to get everything straight and get your point across.
It’s been a week or so, and you want to check up on your article and see how’s it doing. To your surprise, no matter what keywords you use, your website is not showing on Google.
Why is my website not showing up on google search?
The most common reason for why you can’t see your post using Google search is that your content is yet to be indexed by Google.
If you’re familiar with the basics of SEO, you have at least a general idea of how Google displays results. A person types in a keyword and the engine displays the content it deems to be the most relevant at the top of the results.
Google’s search bot regularly visits millions of websites and indexes their content automatically. However, if you’re an owner of a new website, the system might not be aware of your site’s existence just yet.
Should and can you do something about it?
Short answer: yes, and we’ll describe these tips below.
What you can do to speed up your website’s indexation on Google
The most important thing from your perspective is to notify Google that a new website exists and it produces high quality content the system should know about.
Here are the steps on how to submit a new website to Google:
1. Open up the “Google Search Console”
The console is a neat platform not only for indexation of content, but to grab valuable data on how your site is performing. If you heavily focus on content marketing and SEO – this tool is vital, so keep it in mind from now on.
You’ll see something like this:
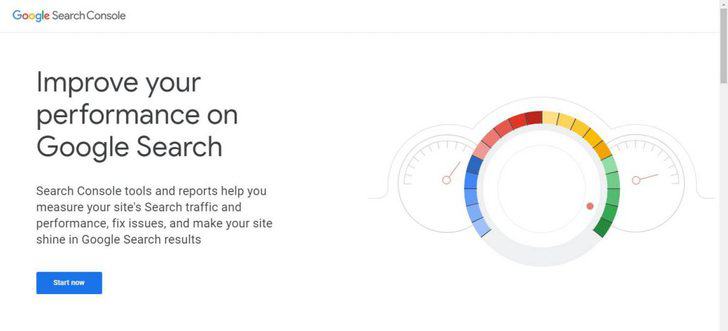
Press “Start Now” and you’ll move on to the next window.
2. Selecting a property type.
As of April 2019, “Google” offers two property types to submit to the console:
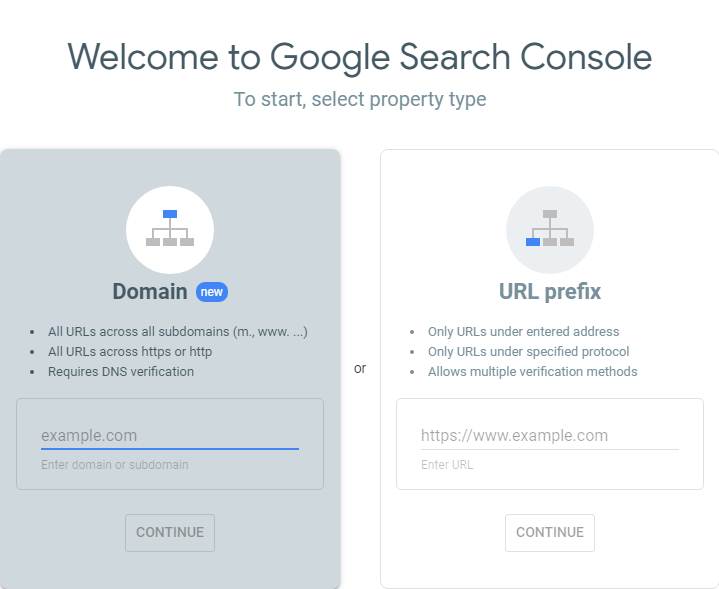
- Domain property. Choose this if you own or plan to own multiple versions of your website. This includes the desktop site, all of it’s subdomains, a mobile version, etc. Basically, you’re telling the system that your current “Google” account is the owner of the entire domain. This of course will require a DNS verification to prove that.
- URL prefix property. This option only verifies a single prefix of a website. Let’s say your full website address is – https://www.website.com. This means that in the future you’ll have the ability to submit content falling under this prefix, not including it’s subdomains or the mobile version.
Which verification option should you choose?
If you plan on having multiple site versions and expand it to different domains and in general, do all of the SEO work yourself it would be best to choose the Domain property option. For new websites that just want to work with one version of a website and get in touch with the platform itself can choose the URL prefix property option.
Enter your website’s domain and press “Continue”.
3. Verifying ownership
The next step you need to take is to verify your ownership of the website. While there are multiple verification methods available, we’ll stick with the most simple one for this one.
Here’s what you’ll see:
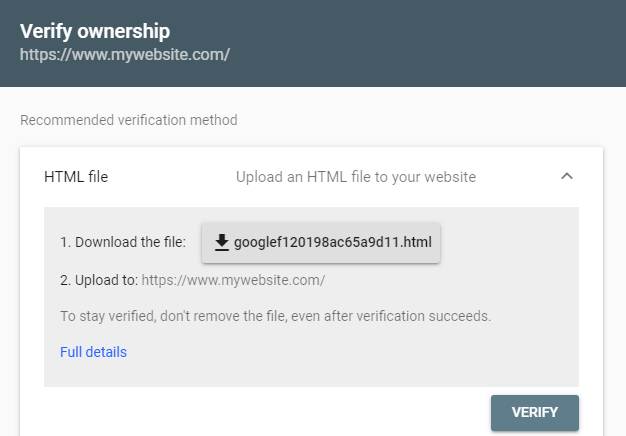
- Download the “.html” file that’s been generated for you and upload it to your website. You can do this yourself or ask the person that’s doing programming duties for your website to help you out.
- Click “Verify” and you should be good to go.
Congratulations, you now have your property set up!
Adding content for indexation
After you’ve added your website you can go back to the homepage of the console. Now you’re ready to add some content.
Here’s what you’ll need to know for the future:
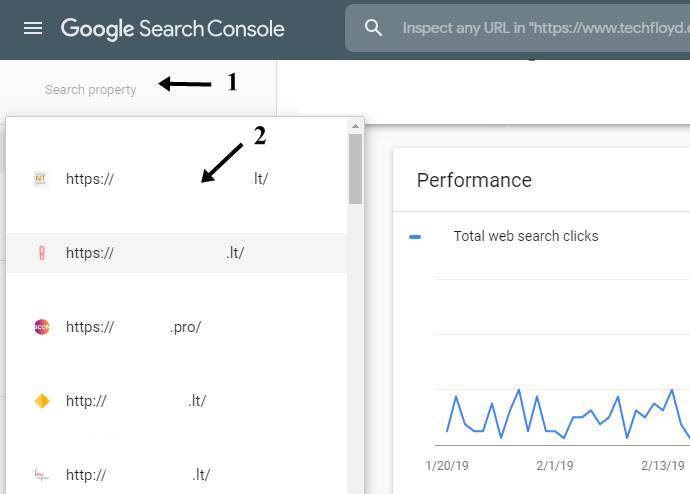
Searching and selecting your website property
- Step 1. Click on “Search property” to see a drop-down list of all your properties. Since you’ve just added your first one. You’ll only see on.
- Step 2. Click on your website.
Adding a content URL to your website property
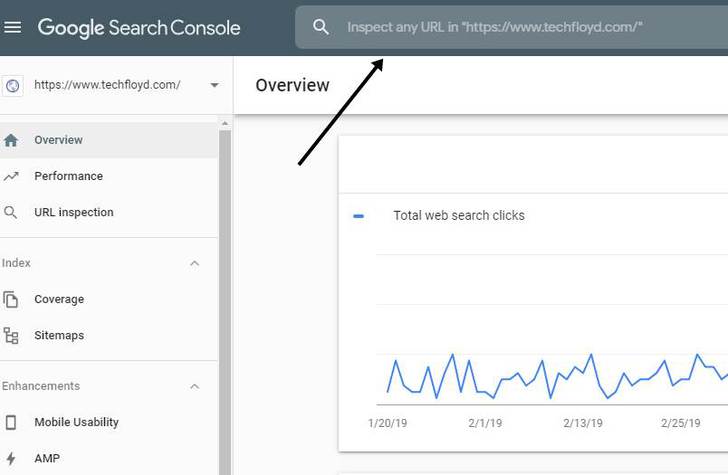
- Step 3. Paste the URL of your new website page or blog post in the “Inspect” section as shown by the arrow.
Here’s what should pop-up:

This means the system recognizes that the content is not indexed by Google.
- Step 4. Click “Request Indexing” and let system to it’s work.
Congrats, you’ve successfully requested for content indexation from “Google”!
Updating content
Let’s say you’ve changed a page on your website or edited a previously published blog post by adding more material of value – photos, videos, tables, etc. To put it in a another way, you’ve made some significant changes to your website and “Google” must know about ASAP.
Select the property from the “Search Property” option just like you did before and paste the URL.
Here’s what you’ll see this time:

Google indicates that the URL is in fact on the system. In order to request indexing for the updated version, simply press “Request Indexing”.
That’s it, you now know how to ask for reindexation of your content!
In conclusion
The “Google Search Console” is a valuable tool for any business, especially those who are heavily focused on content marketing and SEO rankings. By following these instructions you can create and index new content on the regular.
Remember, the good stuff is not only appreciated by the system, but your potential clients as well. So, amaze them and good luck writing!


